This article was originally written in 2018. It was updated with new prices and information in 2022.
Articles and Information
The following articles include basic information about how to solder and what tools you need. Many of these include videos and links to other resources.- How To Solder: A Complete Beginners Guide - Makerspaces.com
Includes a free PDF downloadable book - How to Solder: Through-Hole Soldering - learn.sparkfun.com
- Adafruit Guide To Excellent Soldering
- How to Solder Electronics (with Pictures) - wikiHow
- Soldering Is NOT Rocket Science!: 8 Steps (with Pictures)
- Video: Soldering Crash Course: Basic Techniques, Tips and Advice!
- Adafruit Soldering 101 reference card
Equipment
Note that if you use the links below, I may get an Amazon affiliate commission. This in no way influences my recommendations.
Technically only 2 things are required to solder, a soldering iron and solder (there are even some soldering strips that you can activate with a match, but that's getting a bit out there). So let's talk briefly about solder then soldering irons. After that we'll look at some clamping options to hold things in place and then some other tools you might want to consider.
Solder
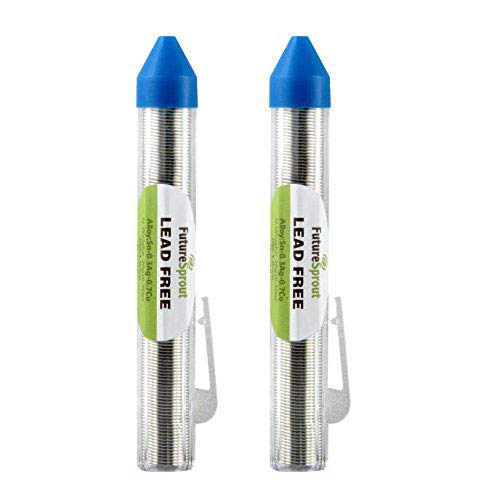
Solder comes in basically two varieties, rosin core and acid core. Acid core solder is for plumbing, NOT for electronics. DO NOT use acid core solder for electronics! Pretty much any rosin core solder will work just fine. I personally prefer lead-free solder in a small plastic tube (rather than on a roll). While slightly more expense, it is much easier to work with, and easier to carry for field work. You should avoid breathing solder fumes no matter what kind of solder you use, but this is especially important if you buy the (generally) less expensive tin-lead solder.
Soldering Irons
Irons can range from the cheap (sub $10) versions that plug directly into the wall up to thousands of dollars for high end soldering and rework stations. If you are just getting started, you don't need to spend a fortune to get a reasonable piece of equipment. At the end of this section are some soldering options for emergency and field use.
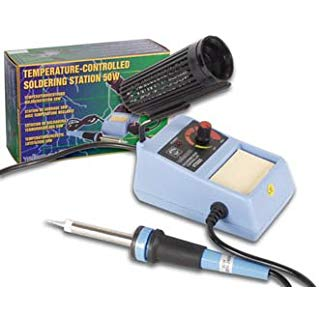
Save yourself some frustration and don’t buy a cheaper soldering iron from Radio Shack or Harbor Freight. Especially if you are just starting out, at least invest in a descent tool. For $32 you can get the Velleman VTSS5U adjustable temperature soldering station. It has an analog temperature control with no display so you don’t know exactly where it is set, but at least it’s adjustable.
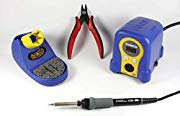
Hakko FX-888D digital soldering station ($106) is an excellent tool for hobbyists. This is the iron I'd recommend if you have any intention of soldering more than one or two small projects. This kit comes with a pair of the best cutters you’ll ever use. I love my Hakko cutters. I have several of them and I use them all the time.
For emergency / field use (only) there are some alternative soldering irons:
- A USB powered one for $13 (use it with a USB battery pack)
- A 12v powered unit for $9
- A butane powered unit for $26
Clamps
If you plan to solder much at all, you are going to want some way to clamp things in place while you solder them. This is true whether you are soldering wires together, soldering parts on a board, or soldering wires to a connector. Again, it doesn't have to be super expensive to be effective. Start with putty and clothespins and then move up to a vice if you find you are doing more soldering.
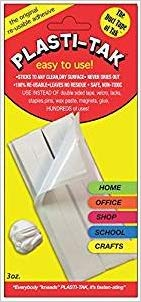
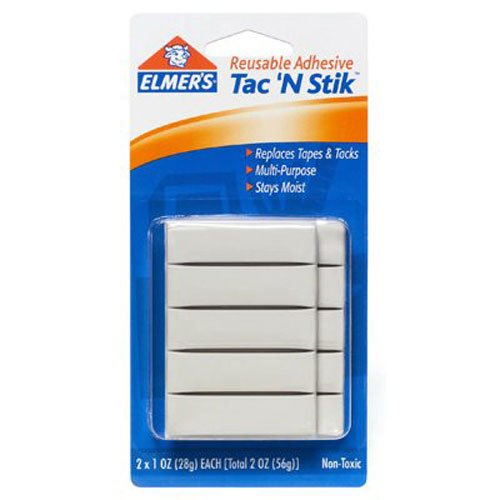
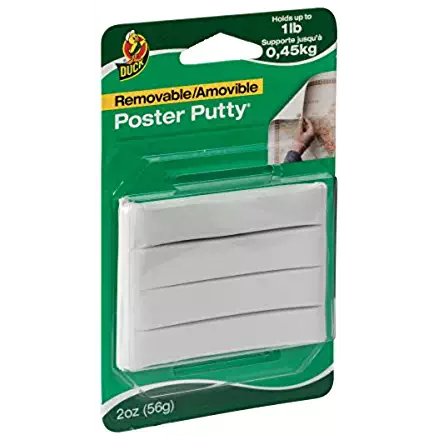
Plasti-Tak (poster putty, adhesive putty, mounting putty, reusable putty) is a great and cheap way to hold parts to boards, hold boards still, or hold wires and or connectors in place while soldering. The cheapest you can find should work just fine (Elmers $6.50, or Loctite $2). Try this video if you want to see it in action (“Blu-Tack” is the same as poster putty, Plasti-Tak, etc.). Some people use Silly Putty instead. That works too but I prefer the extra stick and stiffness of the poster putty.
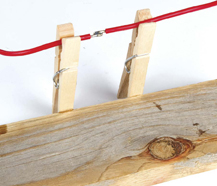
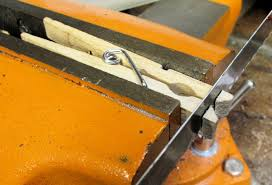
Wooden (not plastic; they melt) clothespins make a great inexpensive clamp for holding wires, boards, or small parts when soldering. You can cut the angled ends off to make a ‘flush’ or ‘flat’ face to your “clamp” (see picture above). Combine clothespins with reusable putty (previous tip) and you have a very portable, inexpensive, and versatile clamping system. This guy made a fixture to hold the clothespins in place. You could do the same with a piece of scrap wood (1x6, etc.) for essentially free.
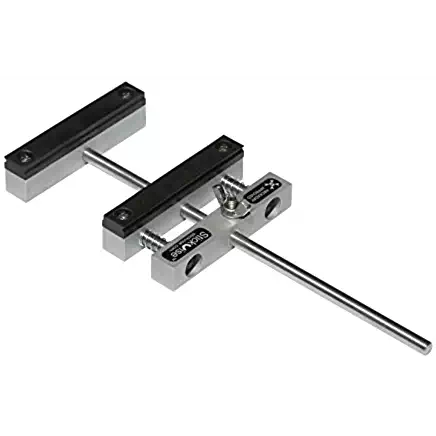
The Stick Vise ($35) is a great little portable vice for soldering. Takes almost no space and you can 3D print your own jaws if you are so inclined.
There are some 3D printable clamps you might consider as well.
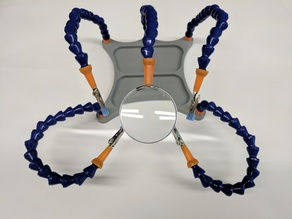
- Soldering Helping Hands (quicker print)
- Helping Hands - Soldering Station
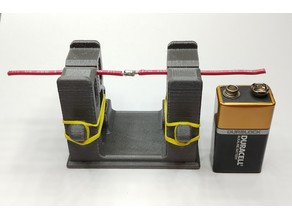
- MobilVise (a portable, printable version of the stick vise)
Tools
In addition to clamps, there are a number of other tools you might consider. Three of the most useful are wire cutters, pliers, and a soldering mat.

As I mentioned previously, I love my Hakko CHP-170 micro cutters ($9). They are relatively inexpensive, and worth every penny. I have several pair that I keep stashed around so a pair is always within easy reach.
As I mentioned previously, I love my Hakko CHP-170 micro cutters ($9). They are relatively inexpensive, and worth every penny. I have several pair that I keep stashed around so a pair is always within easy reach.
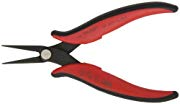
Hakko long nose pliers ($15) are just a pleasure to use. The jaws close nice and flat and they hold parts very nicely.
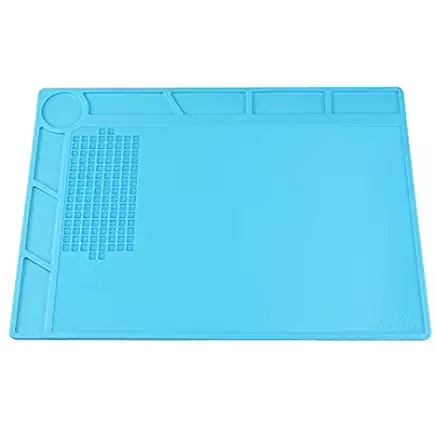
A silicone mat ($8) is one of the best investments you can make. They are very inexpensive but make it much easier to work. It helps you keep track of parts and, unlike your kitchen table, you can’t burn the mat with your soldering iron.
Safety
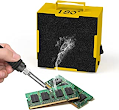
A fume extractor / air filter ($26) is a great piece of safety equipment, especially if you use lead based solder. The fumes given off during soldering are toxic and should be avoided. You should also clean the table or other areas where you soldered with wet wipes to remove any dust or debris.

As with most projects, safety glasses ($2) are also recommended. Solder can pop and spatter, especially when desoldering or soldering wires.